First I wrote out all the credits separately as it made it easier to move around and edit the size and position.

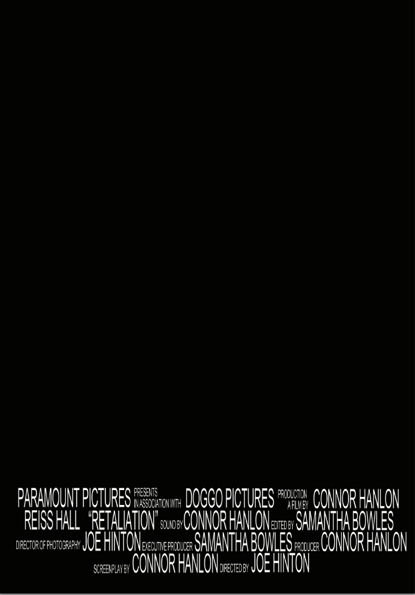
I then constructed the first line. I found that when the smaller writing was stacked for double lines, the larger writing wasn't alined. To over come this, I increased the size of the larger writing instead of decreasing the smaller writing as this would make it more difficult to read. At this point, I became concerned that the writing may be too big, but decided to finish the rest of the lines and edit it afterwards.

I then did the second line and found another issue. The format that I decided to do doesn't look professional as there are large gaps in between lines. In the final poster, I will pay more attention to the positioning on the smaller text.


When saving the end practise, I saved the document as a 'psd' file. I found that if I saved a document as a 'jpeg' like I normally do, I lose all the layers so I can't edit the document as much as I would like to. By saving the document as a 'psd' file, all the layers are kept and are able to be edited.
No comments:
Post a Comment